vExpert 2016

vmware_hyk

I am very honoured to be selected as a vExpert 2016 by VMware. Getting recognition is awesome but knowing that you are sharing content that is for the benefit of others is even better.

The annual VMware vExpert title is given to individuals who have significantly contributed to the community of VMware users over the past year. The title is awarded to individuals (not employers) for their commitment to sharing their knowledge and passion for VMware technology above and beyond their job requirements.

vExpert’s benefits and activities receive:

  • vExpert certificate
  • Permission to use the vExpert logo on cards, website, etc for one year
  • Access to a private directory for networking, etc.
  • Exclusive gifts from various VMware partners
  • Access to private betas (subject to admission by beta teams)
  • 365-day eval licenses for most products
  • Private pre-launch briefings
  • Private briefings from tier 1 alliance partners
  • Blogger early access program for vSphere and some other products
  • Featured in a public vExpert online directory
  • Access to vetted VMware & Virtualization content for your social channels.

I give thanks to the other vExperts and the VMware social media & community team for their hard work and dedication.

The full list of the 2016 vExperts can be found here.

VMW-LOGO-vEXPERT-2016-k

Automatically reboot an ESXi host after PSOD

VMWare_ESXi_PSOD

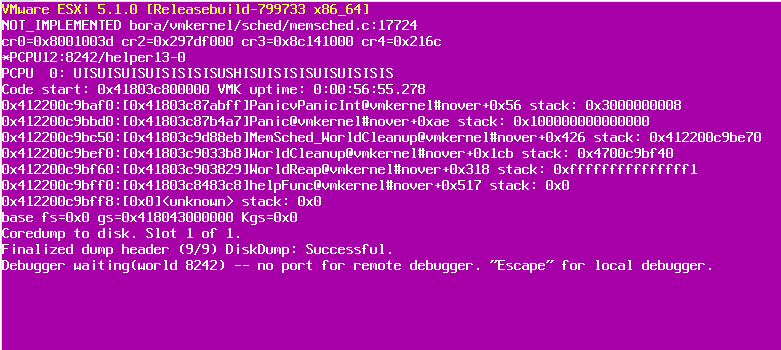
Anyone who has worked in a VMware environment for any length of time should be quite familiar with this purple diagnostic screen, or what we like to call the “purple screen of death“.  Even VMware themselves internally reference this setting as “BlueScreenTimeout”, so make no mistake where it’s fathered it’s name. This PSOD screen is what will appear when the ESXi host goes into an unresponsive state.

Note: The default and VMware recommended setting is to leave the host in an unresponsive state with the purple diagnostic screen displayed on the console screen to aid in troubleshooting.

There are some exceptions to VMware’s recommendation on this, mainly for environments or situations where we simply don’t care about what or why the host had a PSOD. We just need it rebooted and be back online and working as soon as possible. Especially if you are using remote syslog on the ESXi host (which you should) this PSOD screen is of trivial importance and just forces manual intervention to have the host rebooted from iLO/IPMI.

If appropriate for your environment lets set a ESXi host to automatically reboot after 120 seconds at the PSOD screen. There are three ways to do this. By SSH or using the “Advanced Settings” window from the vSphere client or vSphere web client.

Using SSH:

  1. Connect to the ESXi host via SSH
  2. Run command:
    • esxcfg-advcfg -s 120 /Misc/BlueScreenTimeout

The value is in seconds before the reboot will occur. Change this as desired.

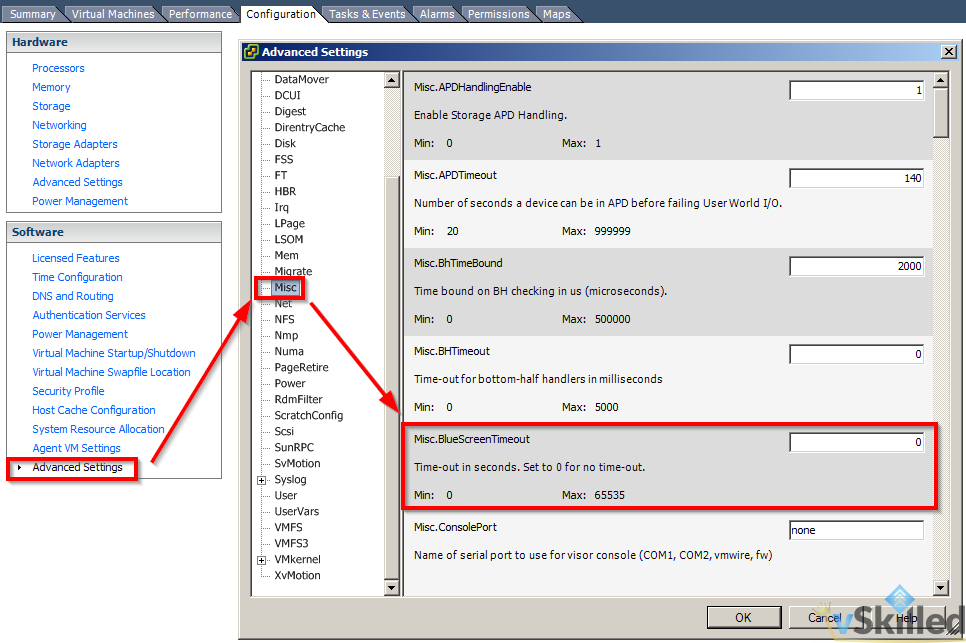
Using vSphere Client:

  1. Select the host you wish to configure
  2. Go to the Configuration tab, select Advanced Settings
  3. From the Advanced Settings window select “Misc“.
  4. Find the “Misc.BlueScreenTimeout” value.
  5. Enter desired auto reboot time, in seconds.
  6. Click OK to save, and rinse and repeat for other hosts.

000212_2015-11-19 08_39

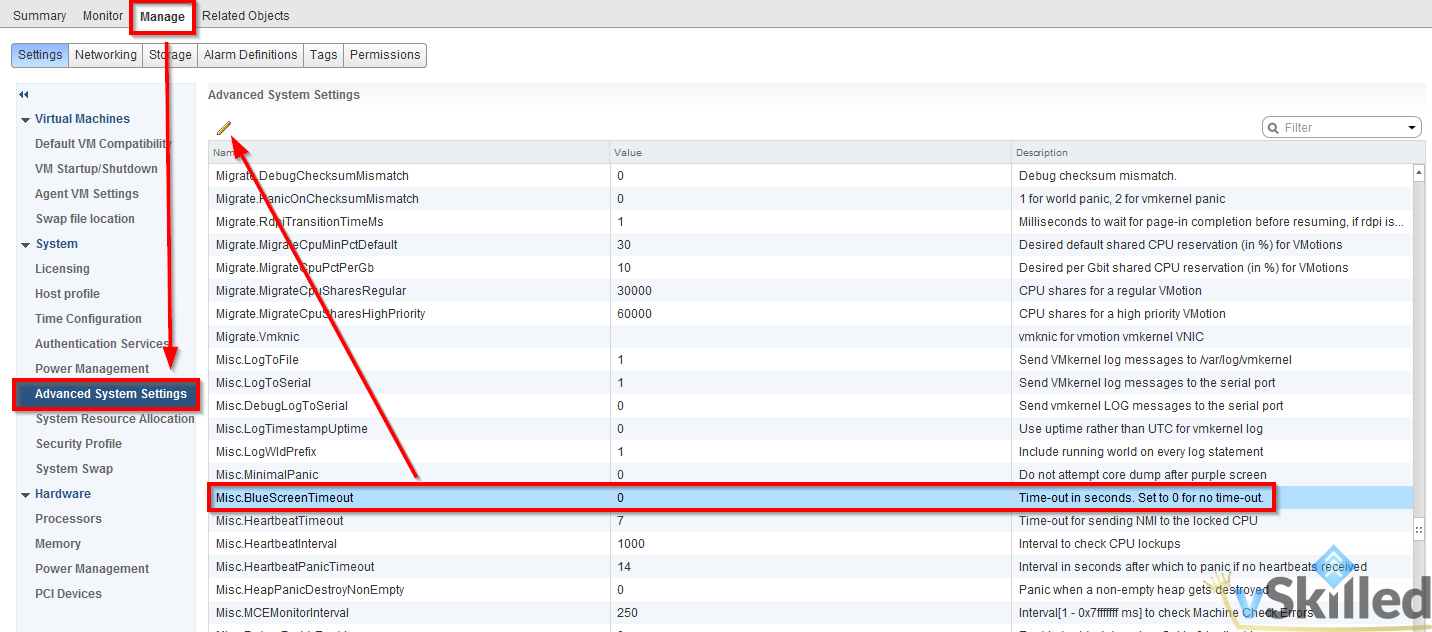
Using vSphere Web Client (5.x+):

  1. Select the host you wish to configure
  2. Select the Manage Tab. Select “Advanced System Settings”.
  3. Scroll down (or use the filter) to find “Misc.BlueScreenTimeout“.
  4. Click the Edit button. Enter the timeout value, in seconds.

000213_2015-11-19 08_48

Source: http://kb.vmware.com/kb/2042500

Installing open-vm-tools on CentOS

Centos-Logo

Just a quick post here today. This is in regards to installing open-vm-tools on CentOS. There’s no need to download and install separate epel-release files anymore as it’s now in the CentOS extras repo directly.

To install them, just use this command, then install open-vm-tools.

yum -y –enablerepo=extras install epel-release

– extras is enabled by default but the –enablerepo caters for those that have disabled it.

Enjoy!

New ESXi Server Build – VMH02 Replacement

IMG_0184

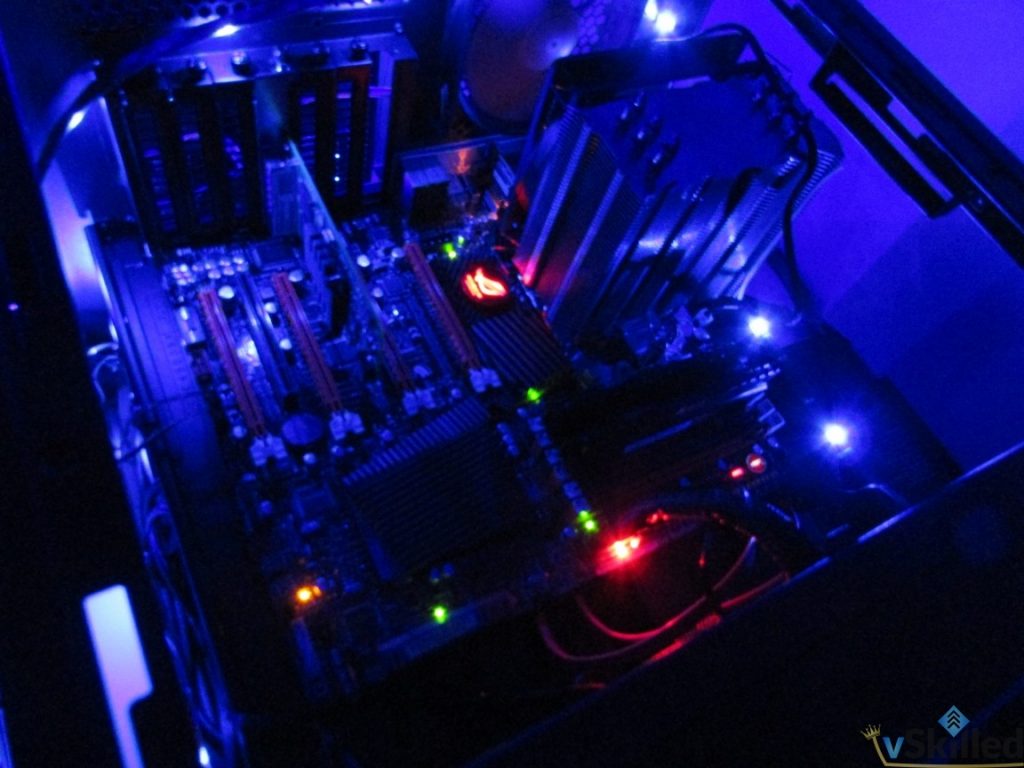
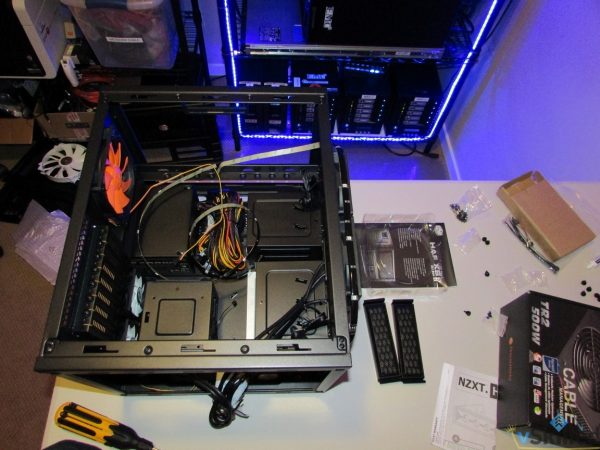
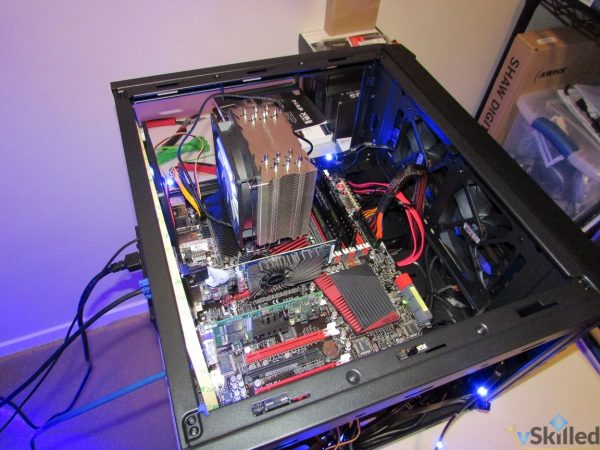
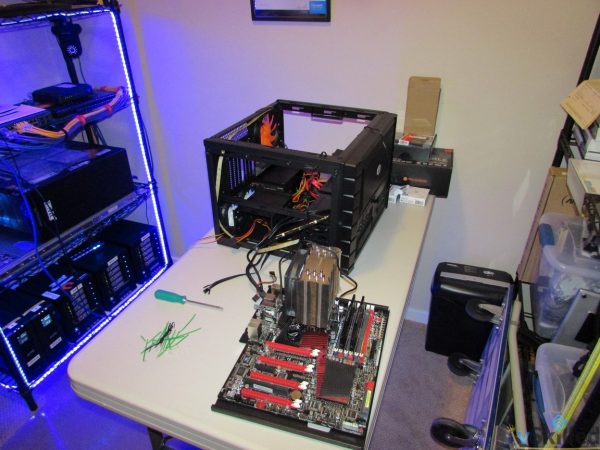
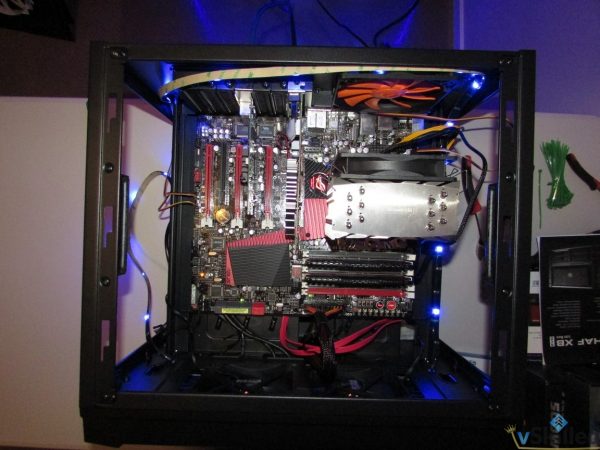
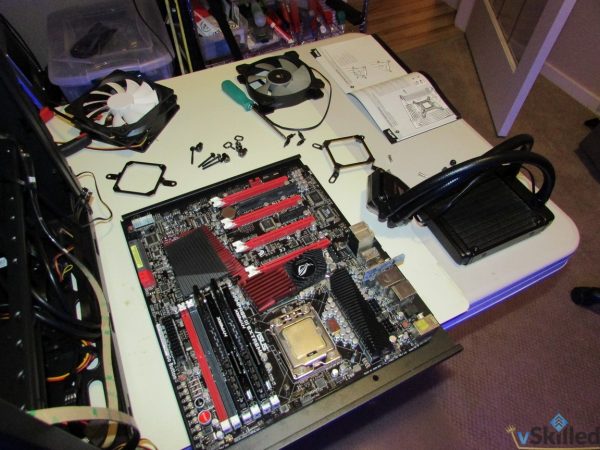
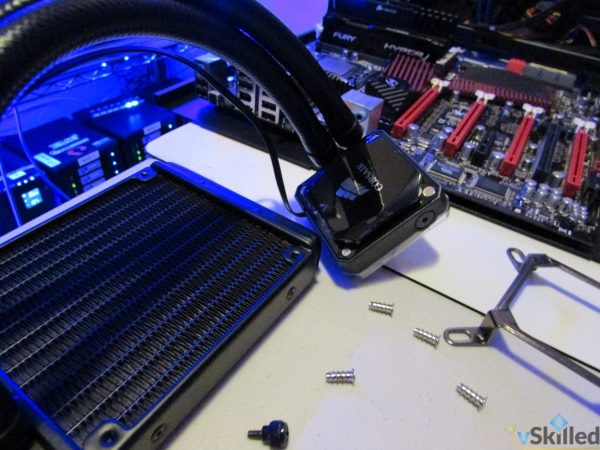
This build was originally meant to be a remote ESXi server for my parents place, but I’ve ended up liking this new build so much I’m going to have to keep it for myself. So what I’ll be doing is finishing up this build for my lab and swapping my current 2nd ESXi host (VMH02) to be my MediaPC, and finally re-purposing the MediaPC hardware as an ESXi host for the original plan of the remote lab.

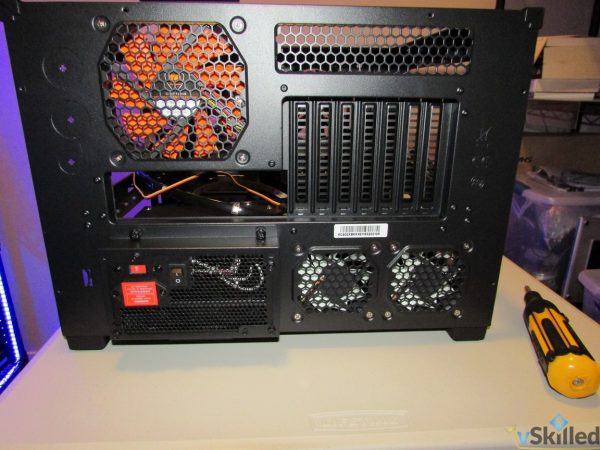
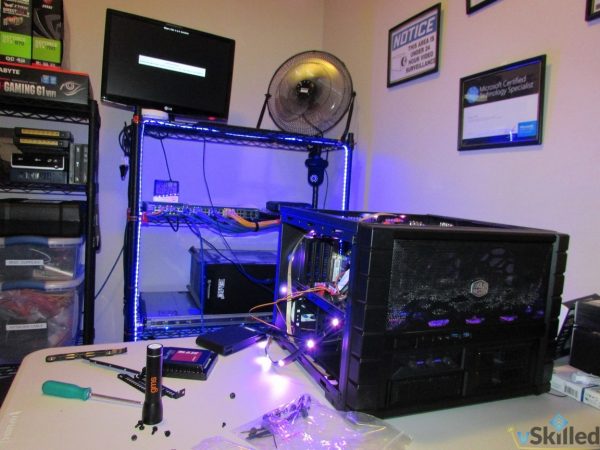
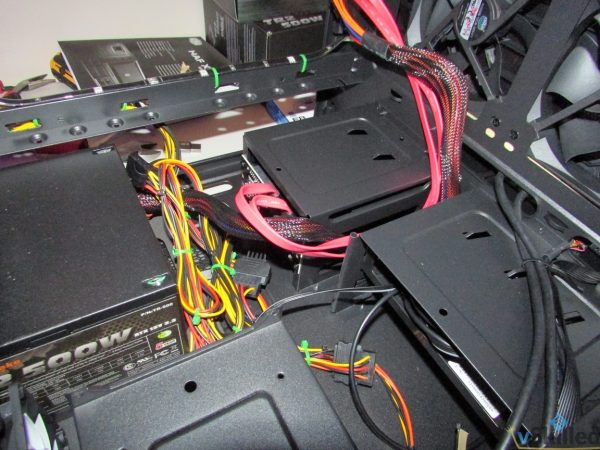
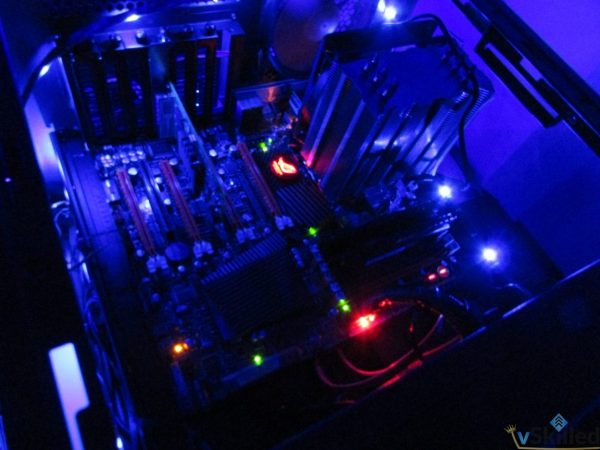
I sort-of figured in the beginning of this remote lab project that I could end up falling in love with the build and deciding to keep it, and well… here we are. I really like the new case (Cooler Master HAF XB EVO ATX) and I’ll be buying another of them for the remote ESXi lab. It’s big/open, lots of fan slots, easy to use and cable manage. That and now that I know how to work with the case properly on the next build it will be super easy to plan out and execute.

ComponentPart NameCost (CAD)
CPUIntel® Core™ i7-950 Processor$50 (used)
MotherboardASUS Rampage III Extreme LGA 1366 Intel X58 SATA 6Gb/s USB 3.0 ATX Intel Motherboard $50 (used)
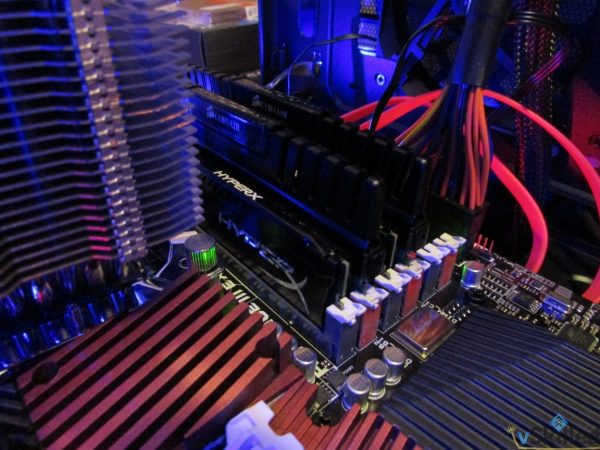
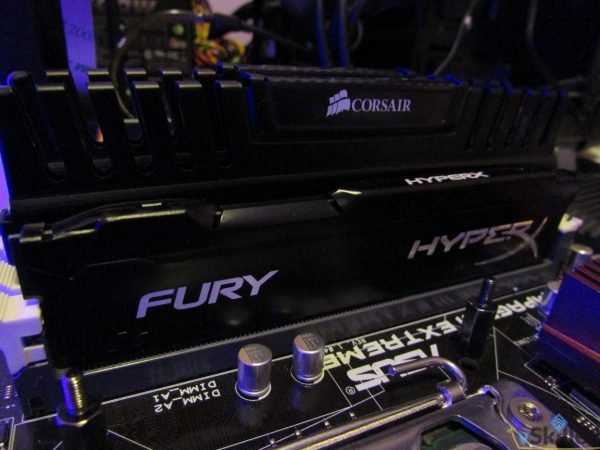
RAMKingston HyperX Fury Memory Black 16GB 2X8GB DDR3-1866 CL10 - and -
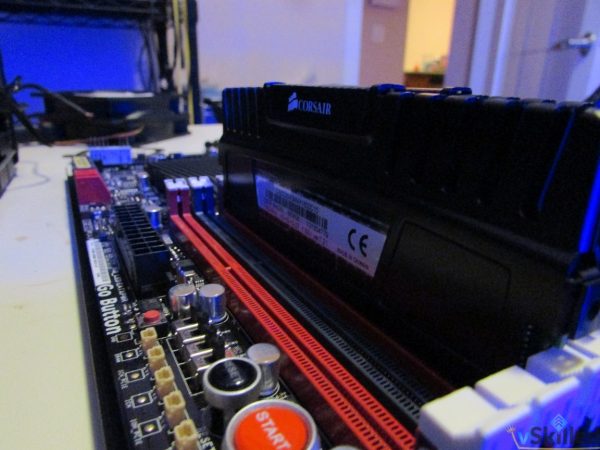
Corsair Vengeance 16GB 2X8GB DDR3-1866
$120
Power SupplyThermaltake TR2 500W Power Supply Cable Management ATX12V V2.3 24PIN With 120mm Fan$50 (have)
CaseCooler Master HAF XB EVO ATX$110
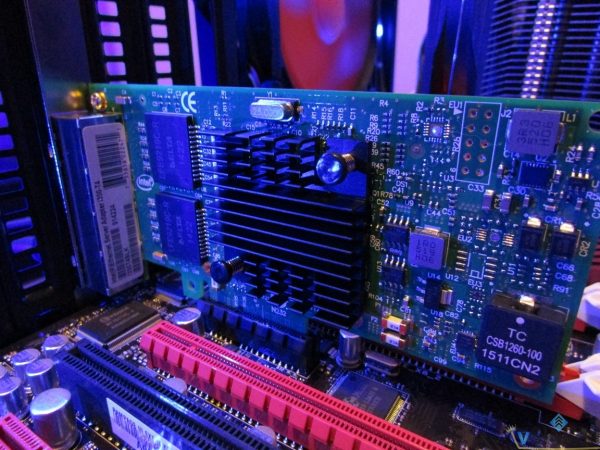
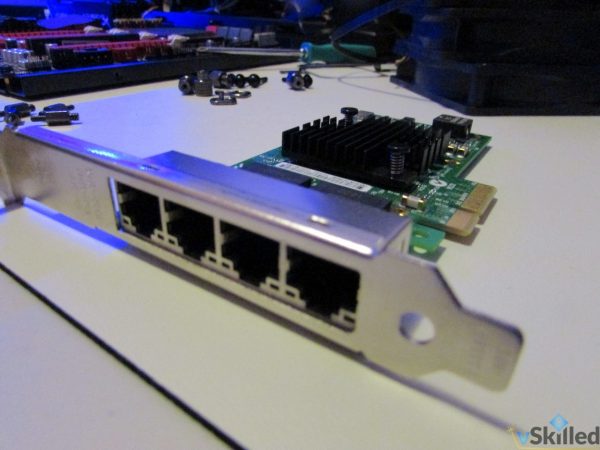
NetworkIntel I350-T4 PCI-Express PCI-E Four RJ45 Gigabit Ports Server Adapter NIC$60
Fans / MiscNZXT Hue 3 RGB Color Changing LED Controller, 2 x 80mm (buy), 1 x 200mm (have), Thermal Compound$50
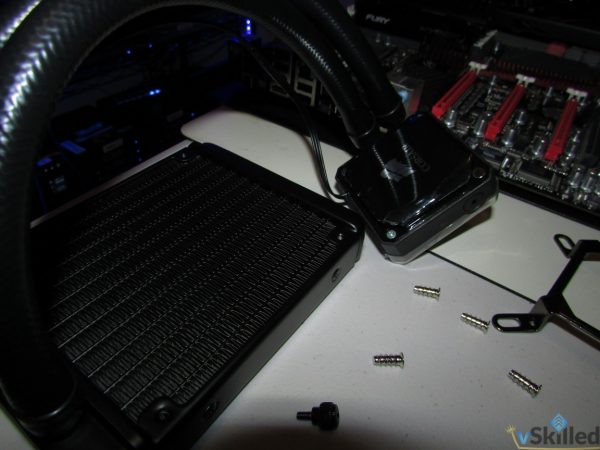
CPU CoolerCorsair Cooling Hydro Series H60$70
~$560

Once replaced the new VMH02 will be an Intel i7-950 with 32GB of RAM. A small upgrade from the previous i7-920 with 20GB of RAM. I was able to get the used Motherboard, CPU, and 16GB Corsair RAM of RAM (see table above) from a buddy for $120 total.  That alone saved me easily about $600, compared to buying new.

Build Progress:

I’ll another update in the coming days on build progress. 🙂

VMware HTML5 Client?

ESXiHostClientFlingScreenShotNew-1024x570

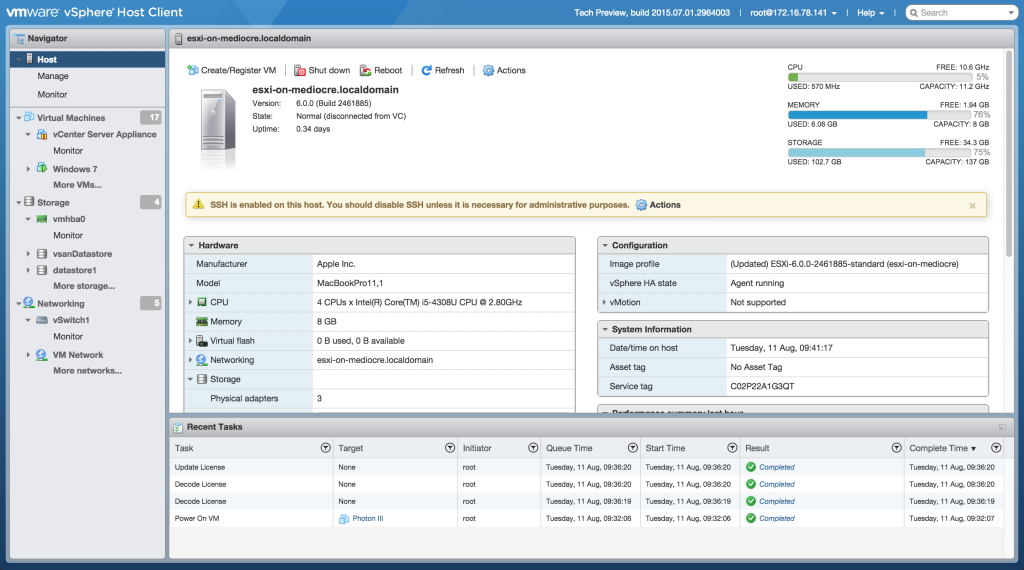
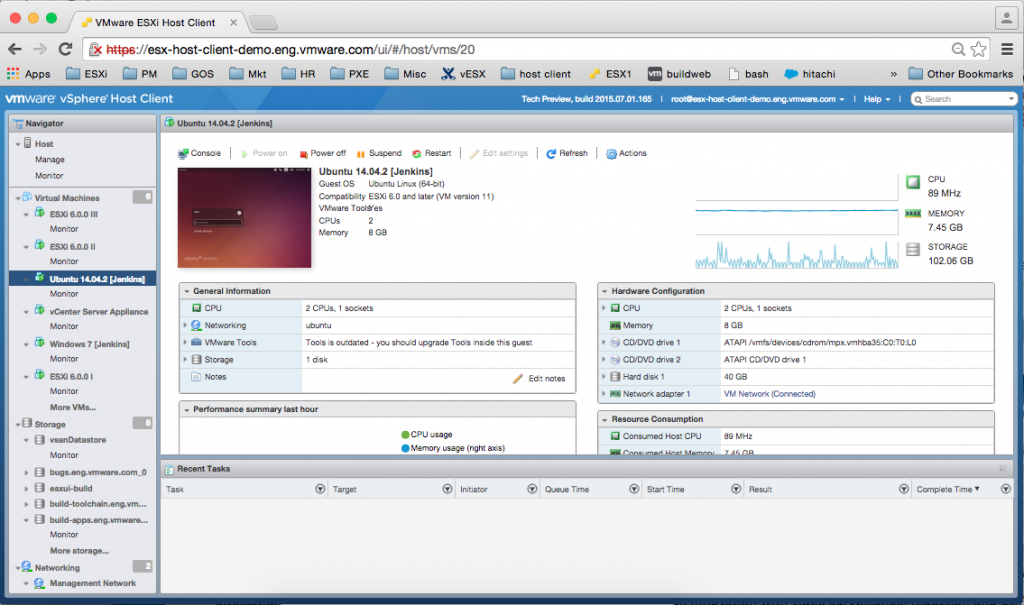
I’ve caught wind of a real HTML5 web client being developed. Its currently very early into development and is released as technical preview fling. To be clear it’s not for vCenter, but we can only imagine the direction this would eventually go. This version of the ESXi Embedded Host Client is written purely in HTML and JavaScript, and is served directly from your ESXi host. So that means it’s specifically meant to run on the host, and controls only the host but it claims to “perform much better than any of the existing solutions”.

Mainly I am happy to hear that there is no Flash dependency in this version of the web client. Maybe the feedback from customer’s is actually being heard by VMware. Maybe we could see this continue to develop into replacing the vCenter version of the flash web client. We’ll have to wait and see, but for now we know that at least something is being worked on and that is better than nothing.

ESXiHostClientFlingScreenShotNew_2

See full details on the ESXi Embedded Host Client on the VMware Labs website here:

NoFlashLogo

Enable SNMP on ESXi 5.5

000174_2015-07-30 11_27

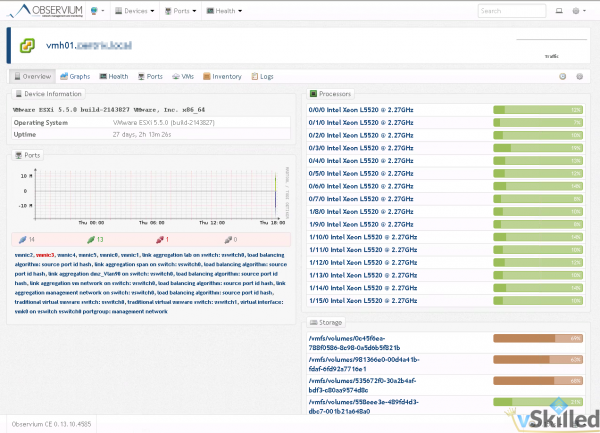
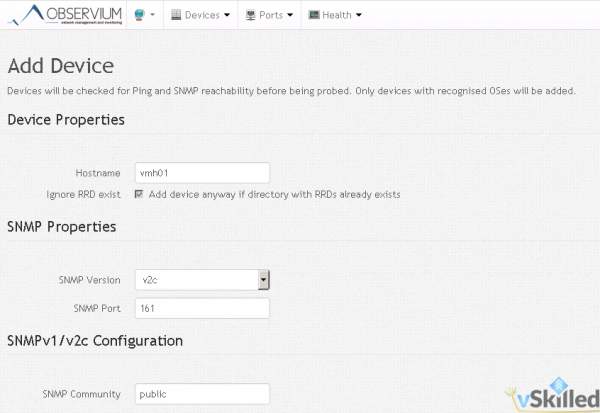
This is a quick guide on how to configure ESXi 5.5 hosts for SNMP monitoring. I use Observium to monitor and collect information about devices on my home network that support SNMP. This allows me to have an in-depth look at devices on my network as well as see metrics that go far into the past.

First we need to SSH to the ESXi host you would like to enable SNMP on. To do that we first need to make sure that SSH is enabled on the host.

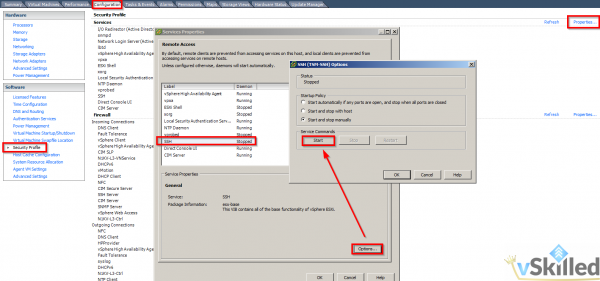
Ensure that SSH is enabled on the ESXi Host:

  1. Go to the configuration tab, then select Security Profile
  2. Select Properties with Services, then select SSH Server
  3. Click the Start button once to start the service for now

000175_2015-07-30 11_33

Using an SSH client, such as Putty, connect to your ESXi host. Then run the following commands:

esxcli system snmp set -c public
esxcli system snmp set -l warning
esxcli system snmp set -e yes

That’s it! You can change the “public” string to whatever your preferred community name is. Now you can disable SSH on the host if you prefer. Then add the host into your SNMP monitoring tool. Wait 5-10 minutes for discovery and your finished.

000173_2015-07-30 11_26