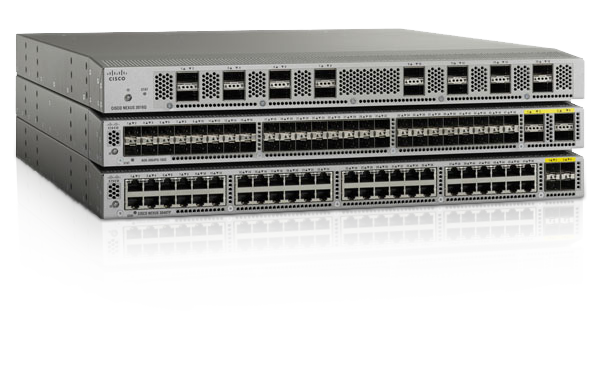
While working with a enterprise customer I was tasked with migrating an entire production environment from the Cisco Nexus 1000v to a VMware Virtual Distributed Switch (VDS). Then moving the VDS and the ESXi 5.1 hosts over to a fresh built vSphere 6.0 server. The customer is in the middle of an upgrade from vCenter 5.1 to 6.0. Most of the host upgrades will be done once the hosts are moved over to to the new vCenter.
Goals:
- Non-disruptive migration of networking for Virtual Machines (this is a live production environment)
- Migrate away from the Cisco 1000v, to VDS
- Migrate the VDS config from old 5.1 vCenter to new 6.0 vCenter
- Touch-up naming of virtual machine networks/VLANs
- Move Virtual Machines from the Virtual Distributed Switch (VDS)/Nexus 1000v to a Virtual Standard Switch (VSS)
- Disconnect and remove the ESXi hosts from the old vCenter 5.1
- Connect ESXi hosts to the new vCenter 6.0
- Migrate VM networking from VSS to VDS
VMware vSphere 5.1 and later allow you to export, import, or restore Distributed Switch configurations from the vSphere Web Client. Since moving the 1000v would be too convoluted, if not actually impossible, I will move everything over to a VDS on the existing 5.1 vCenter first. Then once everything is up and running on the VDS we can then migrate the VDS configuration over to the new 6.0 vCenter server.

Unfortunately we will also need to create a Virtual Standard Switch (VSS) switch configured with all the networks, all with matching configuration on each ESXi host in order to actually do the ESXi host migrations over to the new 6.0 vCenter. This will be automated with scripts, of course. We must migrate all virtual machine, VMkernel, and service console networking from VDS to VSS so that network connectivity is not lost when we remove the hosts from the VDS in order to disconnect them from the 5.1 vCenter and add them to the 6.0 vCenter.
MIGRATION FROM 1000v to VDS
Summary:
The following steps will migrate the host and VM networking from the Cisco Nexus 1000v to a VMware Virtual Distributed Switch. This migration plan assumes that there are at least two dedicated uplinks for VM traffic. The purpose of this is to remove dependencies on the legacy 1000v and create a known working configuration of the VDS that will later migrated to the new vCenter 6.0 server. The customer has decided against using the 1000v and wants it removed from their environments. We need to perform this migration before we can move the hosts to the v6.0 vCenter so that we have a working VDS configuration that we can later export to the new vCenter and as a result have an immediately working VDS configuration.
I performed the migration in two parts; that I named “legs” which is basically a reference to the actual uplinks (A + B) themselves. This is to ensure I can quickly and easily roll-back the change if necessary. For the duration of the migration we will only be on one “leg” at a time (either the 1000v on uplink A – or – the VDS on uplink B), this of course introduces a single point of failure but the risk is acceptable since the change window is quite small and the chances of a switch or uplink failure during our change is low. Regardless, I will ensure that both the 1000v and VDS are fully working at all times until all VM networking is migrated from the 1000v to the VDS – testing along the way to ensure there is no impact to VM networking. Once all VMs are moved from the 1000v then we can remove the uplink to the 1000V which at that point should be completely unused and add that uplink to the VDS so that we can then achieve our A+B uplink redundancy again.
Pre Tasks:
- *** Disable HA, DRS, and EVC on the Cluster ***
- *** Storage DRS needs to be set to manual or disabled ***
LEG 1
The following will put the hosts into a split 1000v + VDS configuration. One leg on the 1000v, one leg on the VDS. This is necessary to allow proper configuration verification and full migration of VM networking. During this time however, VMs will only have 1 uplink on either side which introduces a single point of failure. However this will only be for the duration of the migration and then they will move back to 2+ uplink paths.
1 – Place target host into maintenance mode
2 – Remove ONE host uplink to the 1000v
3 – Attach host to new VDS using the now available vmnic that used to be on the 1000v
4 – Remove host from maintenance mode
5 – Use Testing VM to verify networking is working (at your discretion)
6 – Repeat process for all hosts individually
LEG 2
The following will migrate the 2nd leg into the uplink group of the first to allow proper link redundancy on the VDS. Currently VM networking should be working on both the 1000v and VDS. The following steps will fully disconnect the 1000v and migrate VM networking to the VDS. This will allow the removal of the 1000v while the VMs continue running without interruption.
1 – Using the ‘Migrate Virtual Machine Networking’ tool migrate ALL VM networks as required from the 1000v to the VDS networks
2 – Repeat the Migrate Virtual Machine Network for each VM Port Group until all VMs are migrated
3 – ** At this point all VMs should be running from a VDS **
4 – Place target host into maintenance mode
5 – Remove host from the 1000v
6 – Add the vmnic that was on the 1000v to the VDS uplinks
7 – Packet Control (etc) vmnics should show as DOWN on the host
8 – Remove host from maintenance mode
9 – Repeat process for all remaining hosts
Post Tasks:
– Re-enable HA, DRS, EVC, and Storage DRS as appropriate
– Export working VDS configuration to the new v6.0 vCenter server
We’re done!
This migration was completed successfully for the customer in all development, staging, and production VMware environments. During the migration we even took the time to clean-up and standardize the network names of the VM port groups consistently across the environments. I hope this guide can be helpful if you find yourself in a similar situation.
Click here for Part 2, where we will migration the VDS to VSS networking so that we can move the hosts to the new vCenter server, the move back to the VDS on the new vCenter 6.0!
If you have any comments, questions, or suggestions please let me know in the comments section below!
References / Sources:

